| | | |
How To Make A Cube
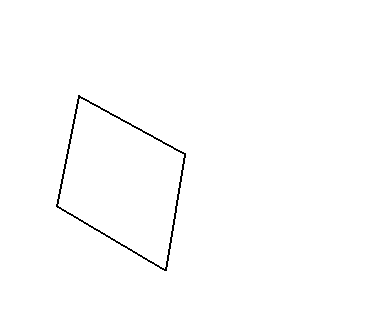
Parallelogram
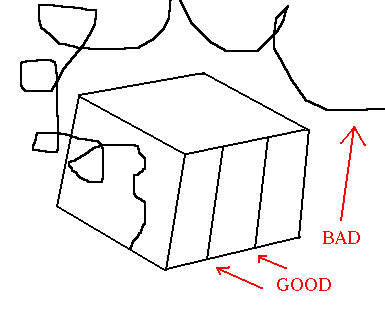
Parallelogram with sticks that are all the same length and pointing in the same direction
Connect the sticks
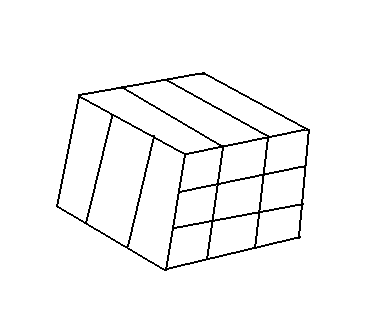
Draw lines from the bottom of the parallelogram to the top so that they divide the lines they attach to into thirds.
Repeat this for all three parallelograms. It's quite simple really.
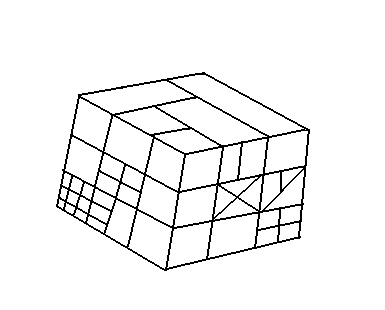
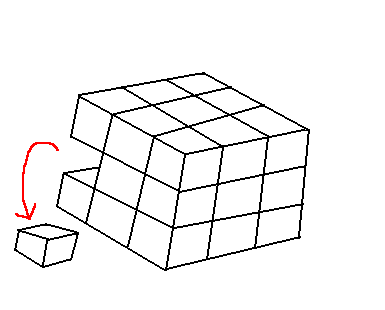
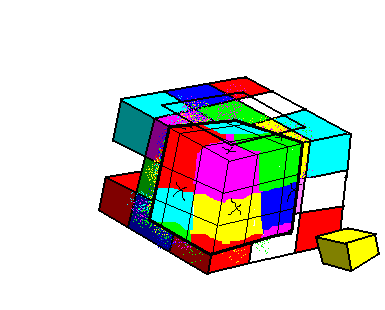
At this point your cube should look something like this. But not a whole lot like this.
Remove cube III 1 B to more easily access the rich gooey center.
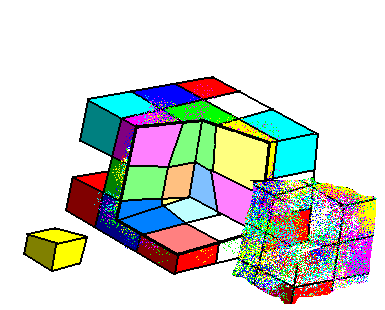
Now it's time to start painting your cube. I recommend that you don't use spray paint because it usually makes a big mess like I have here.
Here I've tried using paint thinner and it only made things worse. We're going to have to remove this entire face of the cube.
In this picture, the removal area has been cut and the panning trowel is in place. We'll want to remove the damaged section in one slow, continuous movement.
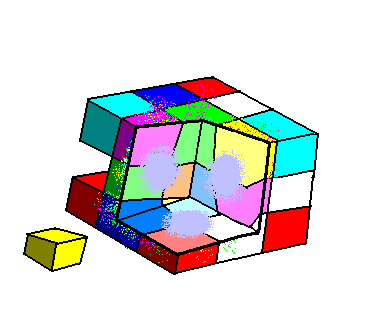
Now that the damaged section has been removed, it's interesting to see how the paint has soaked into the center of the cube in just the few minutes we've been working on it. To the right is a thin, sticky, mostly transparent film I removed from the damaged section. Unfortunately the damaged section itself was damaged further during the removal process, so we won't be able to use it in this project.
Take a gluestick and put a spot of glue on all the concave surfaces. This will make sure the replacement face doesn't fall out while we're painting.
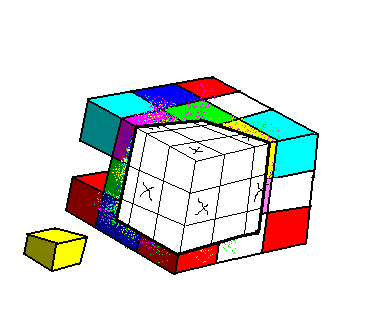
For the replacement face I've used a cheap modeling cube material, which you can get at the same place you bought your panning and palming trowels. Wait for this to dry, and then gently turn the cube over and place it upside-down on a rag or worn towel. This allows the bottom to set and the weight of the main cube helps the modeling cube material attach properly.
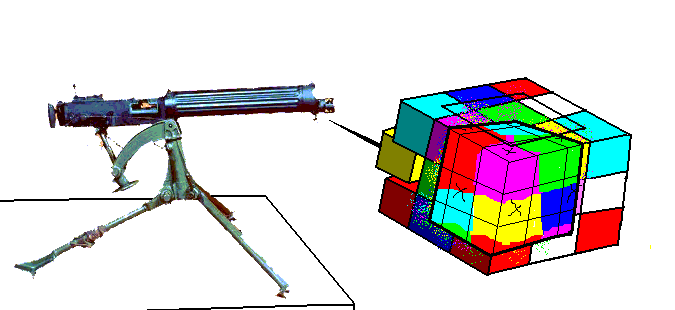
I'm done painting the new face, but the beginnings of a push-up square are starting to appear. So it's time to get out our tiny machine gun.
You can mount the machine gun on a piece of styrofoam, like I have, or just use a coaster. Either way is fine.
Now we're going to replace the smaller cube. The best way to do this may suprise you, but take a black Num. 8 wooden toothpick and push it straight through the center of the smaller cube. Then push one end into the main cube and slide the smaller cube into place. Then just take out the toothpick and there you are.
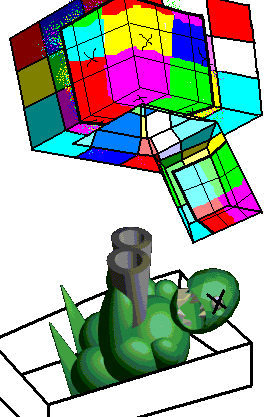
THERE'S THE MONSTER! QUICK, USE THE MACHINE GUN!
Now that it's dead, the monster can be safely removed. I recommend putting it in a small shoebox for later use, or in your yard as a garden gnome.
X
|

